Workflow · Stand
How to Create a Warranty Entry
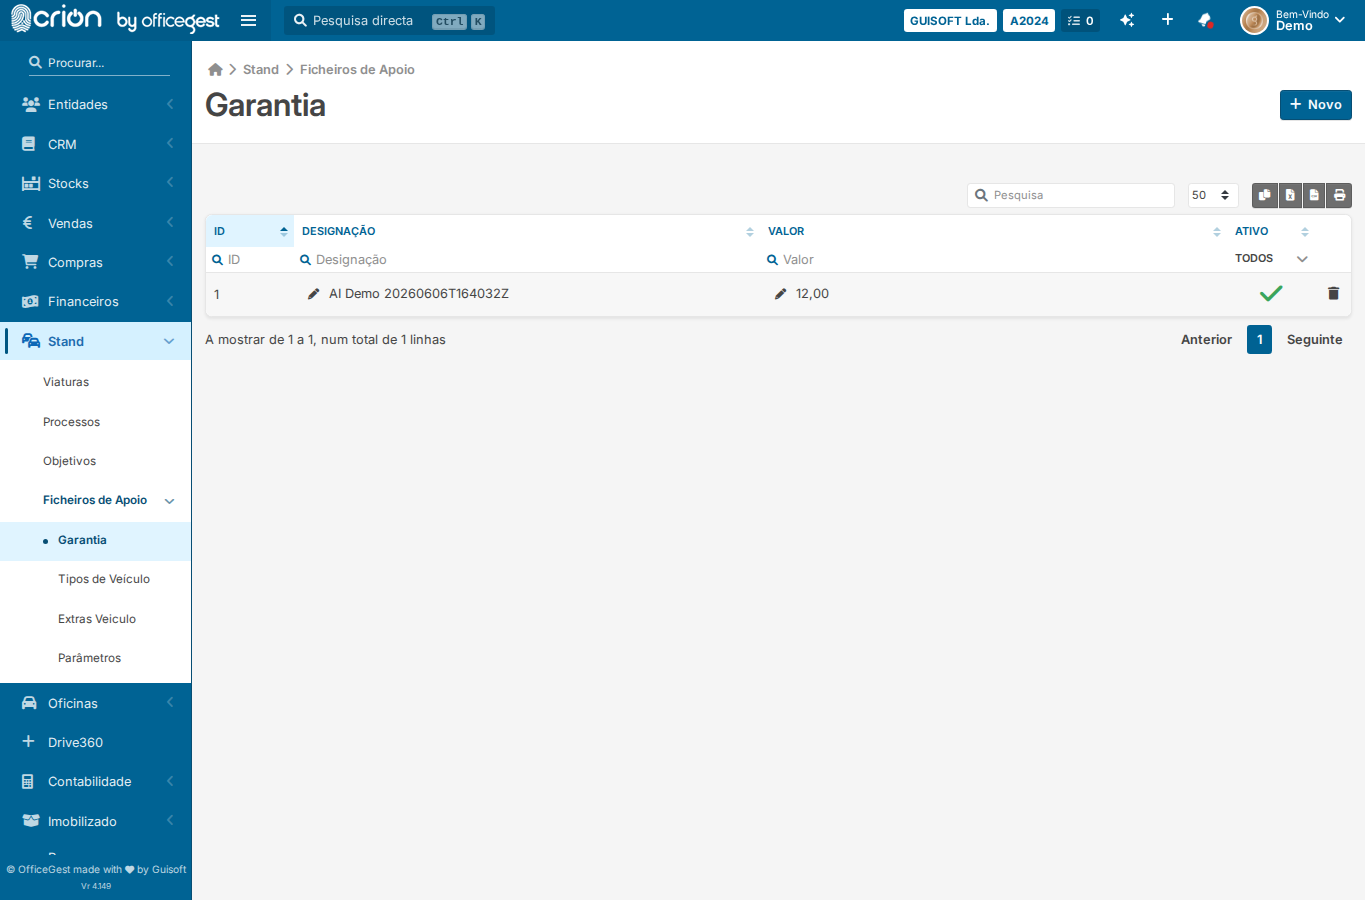
When adding a new warranty type to the Stand support tables. Covers the Novo button (Bootstrap modal trigger), form submission (Guardar) and the cancel flow. The modal must be opened via jQuery since the anchor trigger alone does not fire it in headless Playwright.
Evidence Summary
Module Stand Route /stand/apoio/warrantyRun crion-stand-warranty-20260606T164032Z Steps 15 (15 ok) Backend calls 0 Evidence JSON raw/playwright/workflows/crion-stand-warranty-20260606T164032Z.json
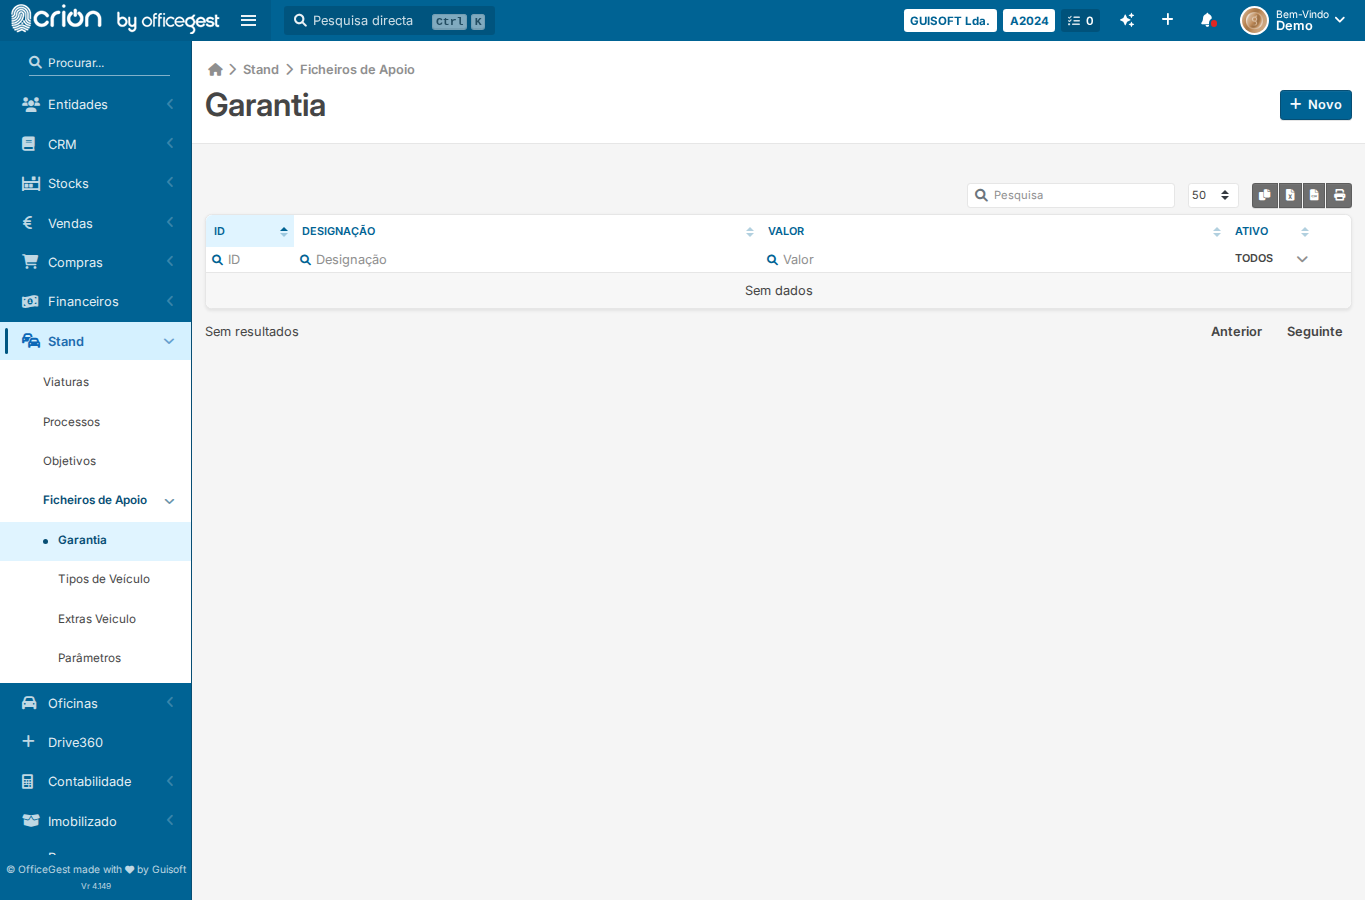
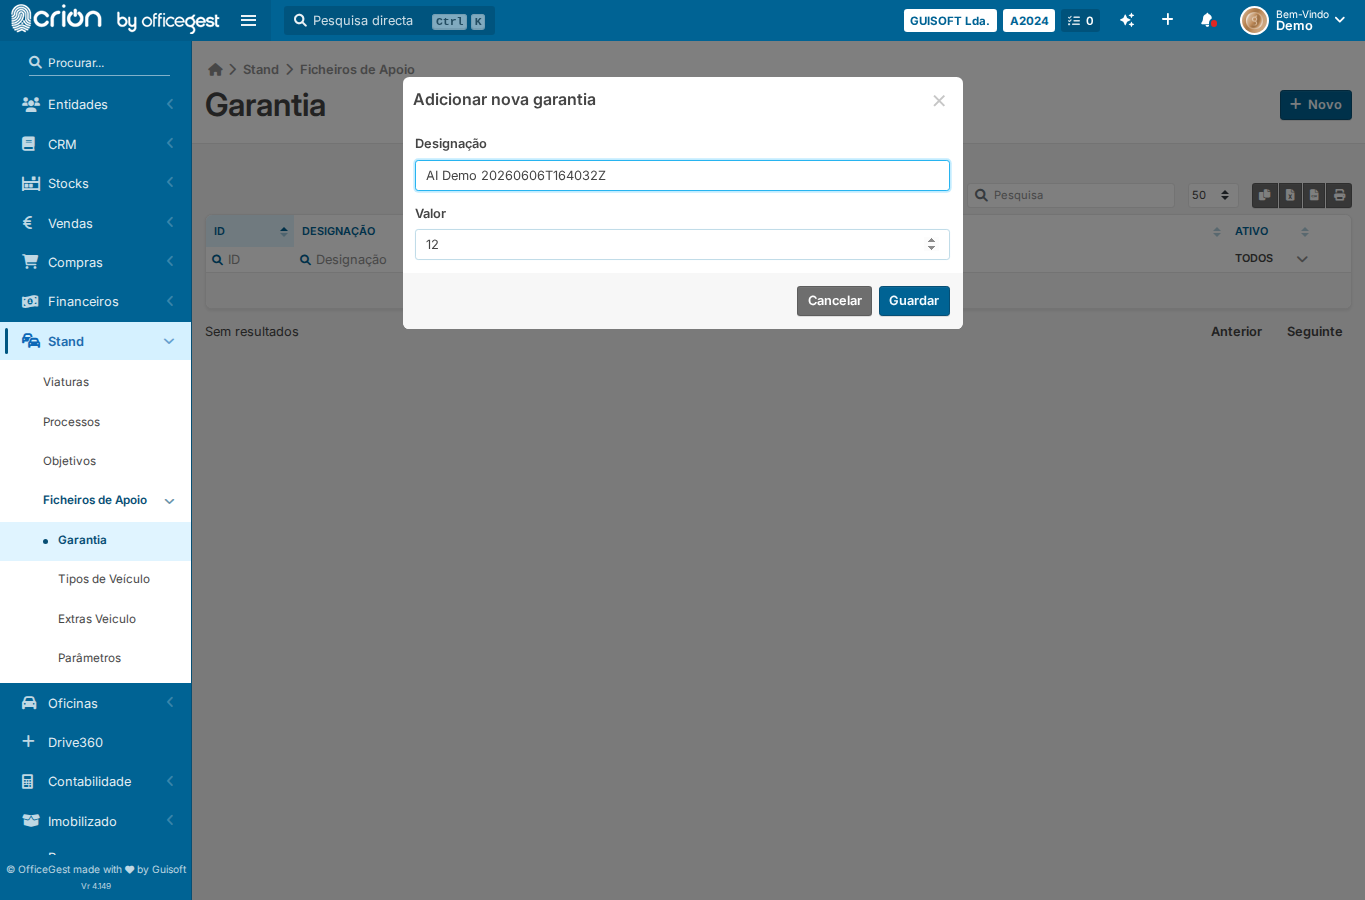
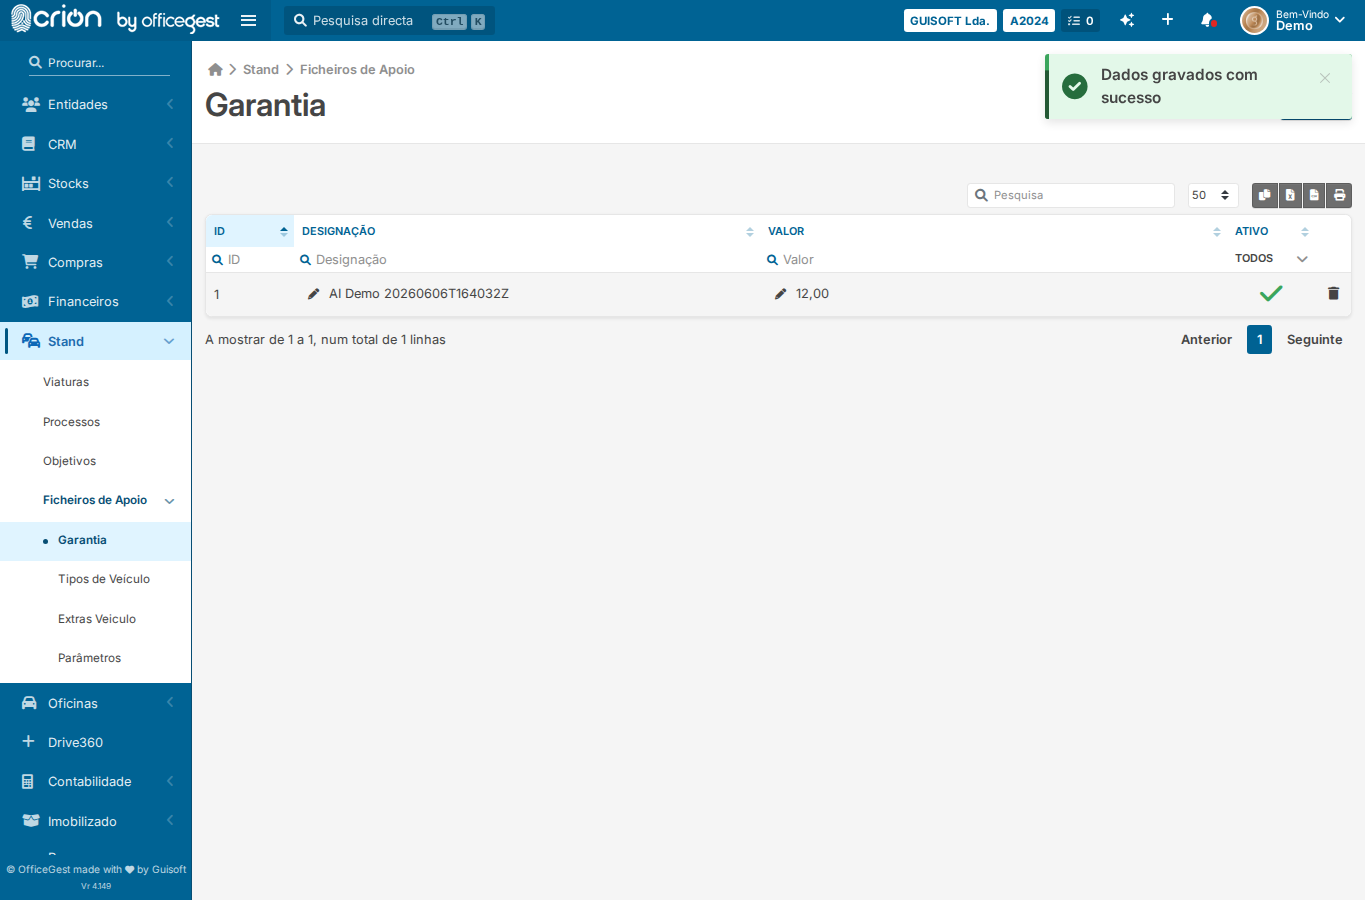
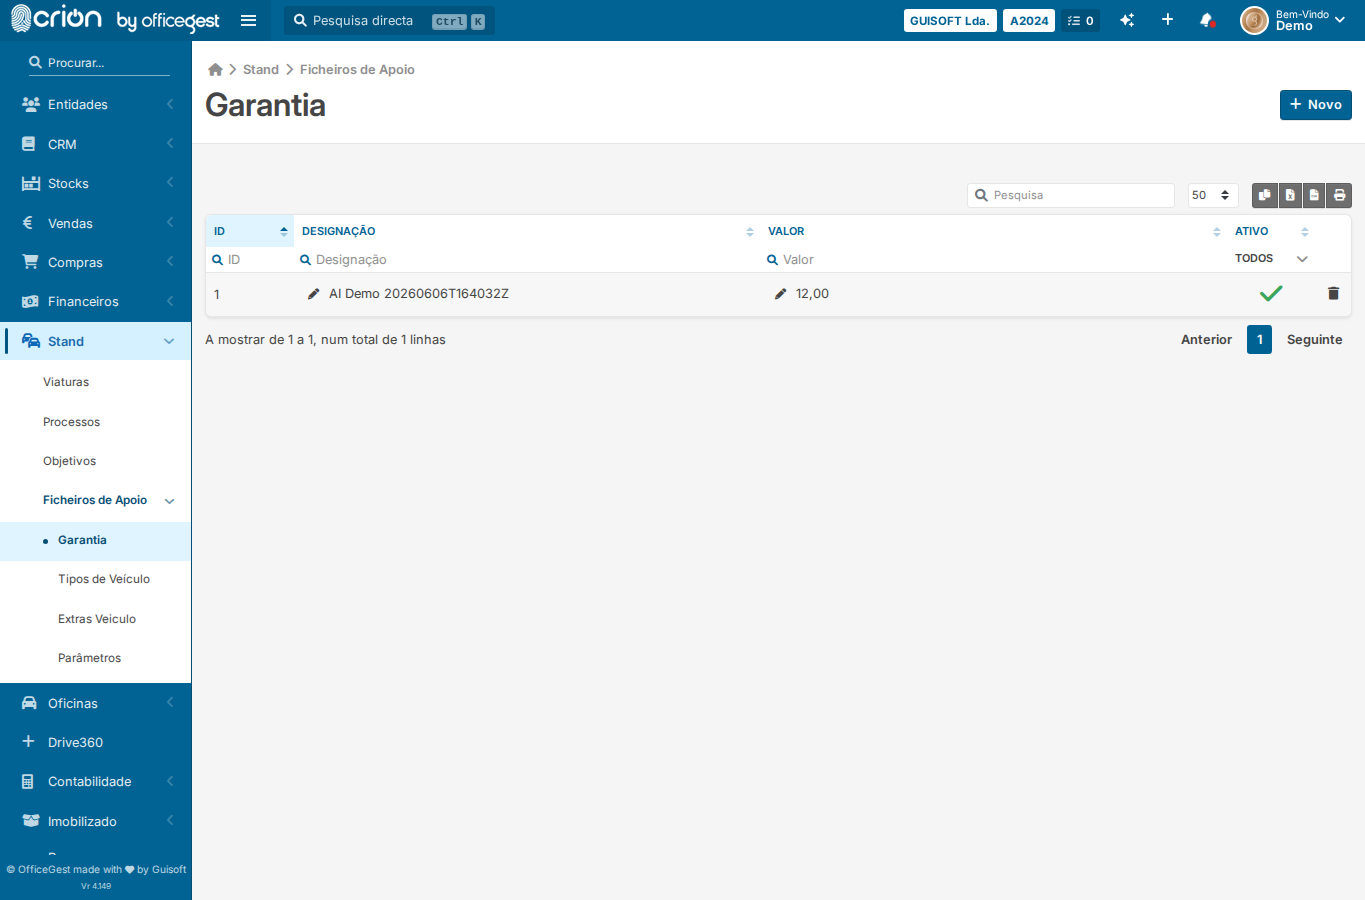
Step-by-Step Open Warranty support table — ok Wait for Novo button — ok Screenshot of Warranty list — ok Open warranty modal via jQuery (anchor href trigger unreliable in headless) — ok Wait for warranty modal to be visible — ok Fill the warranty designation field with AI Demo stamp — ok Fill the warranty value field — ok Screenshot of filled warranty form — ok Submit warranty form (Guardar) — ok Screenshot after warranty saved — ok Open Warranty page — ok Open warranty modal — ok Wait for modal — ok Click X to cancel/close modal — ok Screenshot after cancel — ok Edge Cases Covered Cancel warranty creation — close modal via X button Screenshots warranty-list warranty-form-filled after-warranty-saved edge-warranty-cancel edge-Cancel warranty creation — close modal via X button