Evidence Summary
- Workflow run
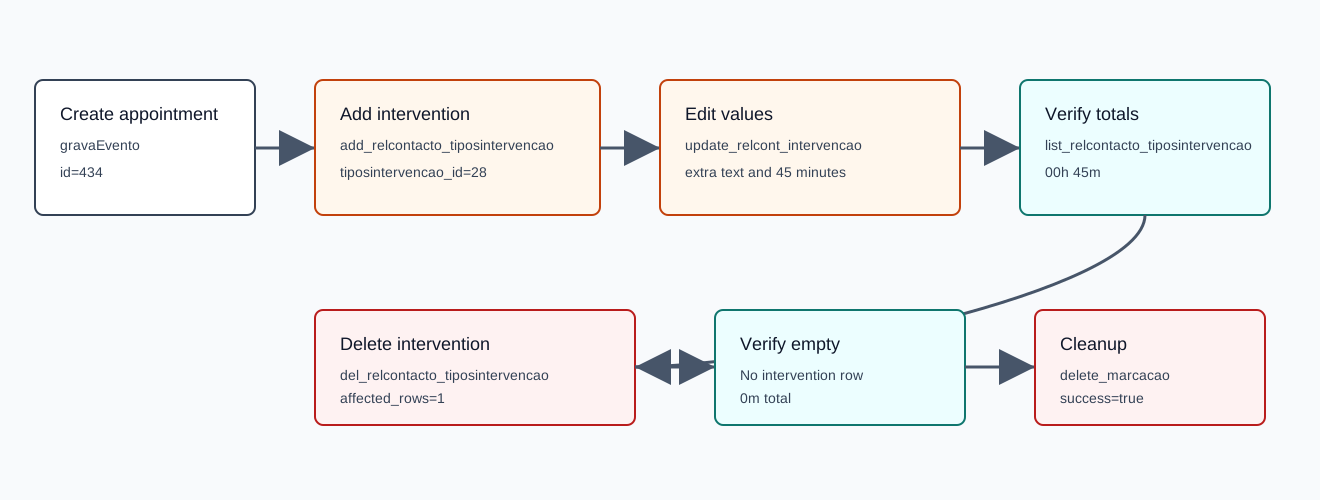
crm-appointment-intervention-20260519T120357Z- Appointment id
434- Intervention id
28- Intervention
Diagnóstico- Final edited time
45minutes /00h 45m
Before You Start
- Open the appointment detail page from
/crm/marcacoes. - Open the Interventions tab.
- The selector lists active rows from
TiposIntervencao. The verified run used intervention28,Diagnóstico. - Intervention rows can be edited while the appointment is not accomplished. When the appointment is accomplished, the delete controls are hidden.
Add an Intervention
- Use the Add Interventions selector.
- Choose the intervention type.
- OfficeGest adds the row immediately after selection.
The verified request used action=add_relcontacto_tiposintervencao, relcontacto_id=434, and tiposintervencao_id=28. The response was {"success":true,"message":null}. The first list row showed designacao=Diagnóstico, default minutes=90, and minutes_f=01h 30m.
Edit Extra Designation and Time
- Edit the Extra designation field directly in the intervention row.
- Edit Time (minutes) directly in the row.
- Confirm the table footer updates the total minutes and formatted time.
The verified update used update_relcont_intervencao twice: once with name=designacao_extra and once with name=minutes. The edited row returned designacao_extra=AI intervention extra 20260519T120357Z, minutes=45, minutes_f=00h 45m, and table totals minutosTotal=45, horasTotal=00h 45m.
Delete an Intervention
- Click the delete icon in the intervention row.
- Confirm the prompt.
- Verify the row disappears and the intervention totals reset.
The verified delete request used action=del_relcontacto_tiposintervencao, relcontacto_id=434, and tiposintervencao_id=28. The response was {"success":true,"affected_rows":1}, and the next list call returned no row for intervention 28.
Artifacts
raw/playwright/workflows/crm-appointment-intervention-20260519T120357Z.jsonassets/screenshots/crm-appointment-intervention-20260519T120357Z-01-before-create.pngassets/screenshots/crm-appointment-intervention-20260519T120357Z-02-before-intervention.pngassets/screenshots/crm-appointment-intervention-20260519T120357Z-03-after-add-intervention.pngassets/screenshots/crm-appointment-intervention-20260519T120357Z-04-after-update-intervention.pngassets/screenshots/crm-appointment-intervention-20260519T120357Z-05-after-delete-intervention.pngassets/screenshots/crm-appointment-intervention-20260519T120357Z-06-after-delete-appointment.png